


I have had a number of requests for instructions to quilt -as -you -go hexagons so here they are!
You can apply theses instructions to any size hexagon you wish to make.
You need backing fabric, a contrasting feature fabric (or fabrics), fusible wadding (or non-fusible wadding and basting spray), and thread to match your backing fabric (Aurifil of course!!). Scraps of fabric and wadding are ideal.
You use 2 hexagons, one smaller than the other. The smaller one is the finished size. The smaller hexagon should have sides which measure 3/4 to 1 inch smaller than the large one. Many different companies produce perspex templates for drawing hexagons, or if you’re confident you can draw your own using a compass. There are lots of instructions online. Here is one http://www.wikihow.com/Draw-a-Hexagon
Mark and cut smaller hexagons from your featured fabric and your larger hexagons from your backing fabric.
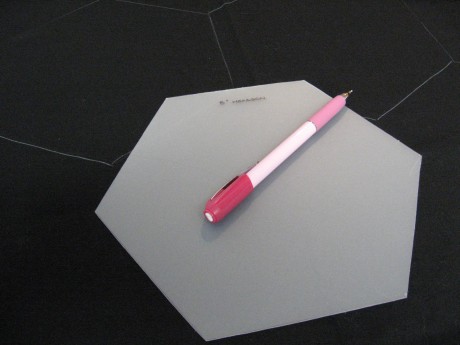
Marking the large hexagon.
For each hexagon, you also need to mark and cut small hexagons from fusible wadding and fuse onto the back of the feature fabric hexagons.

Ironing fusible wadding to small hexagons.
I like to use a quilting ruler and mark 3/4” from the edge on the top side of the backing hexagon. This helps me to centre the small hexagon and have even seam allowances.

Marking the position of the small hexagon.
Place the small hexagon and the large hexagon together, wrong sides together with the fused wadding between, making sure that the small hexagon is centred.
Finger press a 1/4” seam towards the centre, all around the edge of the large hexagon , then fold over and pin in place.

Ready to sew.
Be careful to make neat corners – I like to ensure my corner seams all face in one direction (either clockwise or anti-clockwise).

Turning over the corners.
Now sew all the seams in place from the front. To do this I use the same stitch I use to sew down quilt bindings, making sure to add a couple of stitches into each corner to secure. I use Aurifil Cotton Mako 40 for this task.

Stitching the edge.

Securing the corner.
Make as many hexagons as you require in this way. To join them together, place two hexagons right sides facing, making sure corners are exactly matched and whip stitch together using very small stitches and trying to take only a small “bite” into each hexagon. Small stitches and small bites mean that you have a very neat appearance on the right side, with your stitches hardly visible!
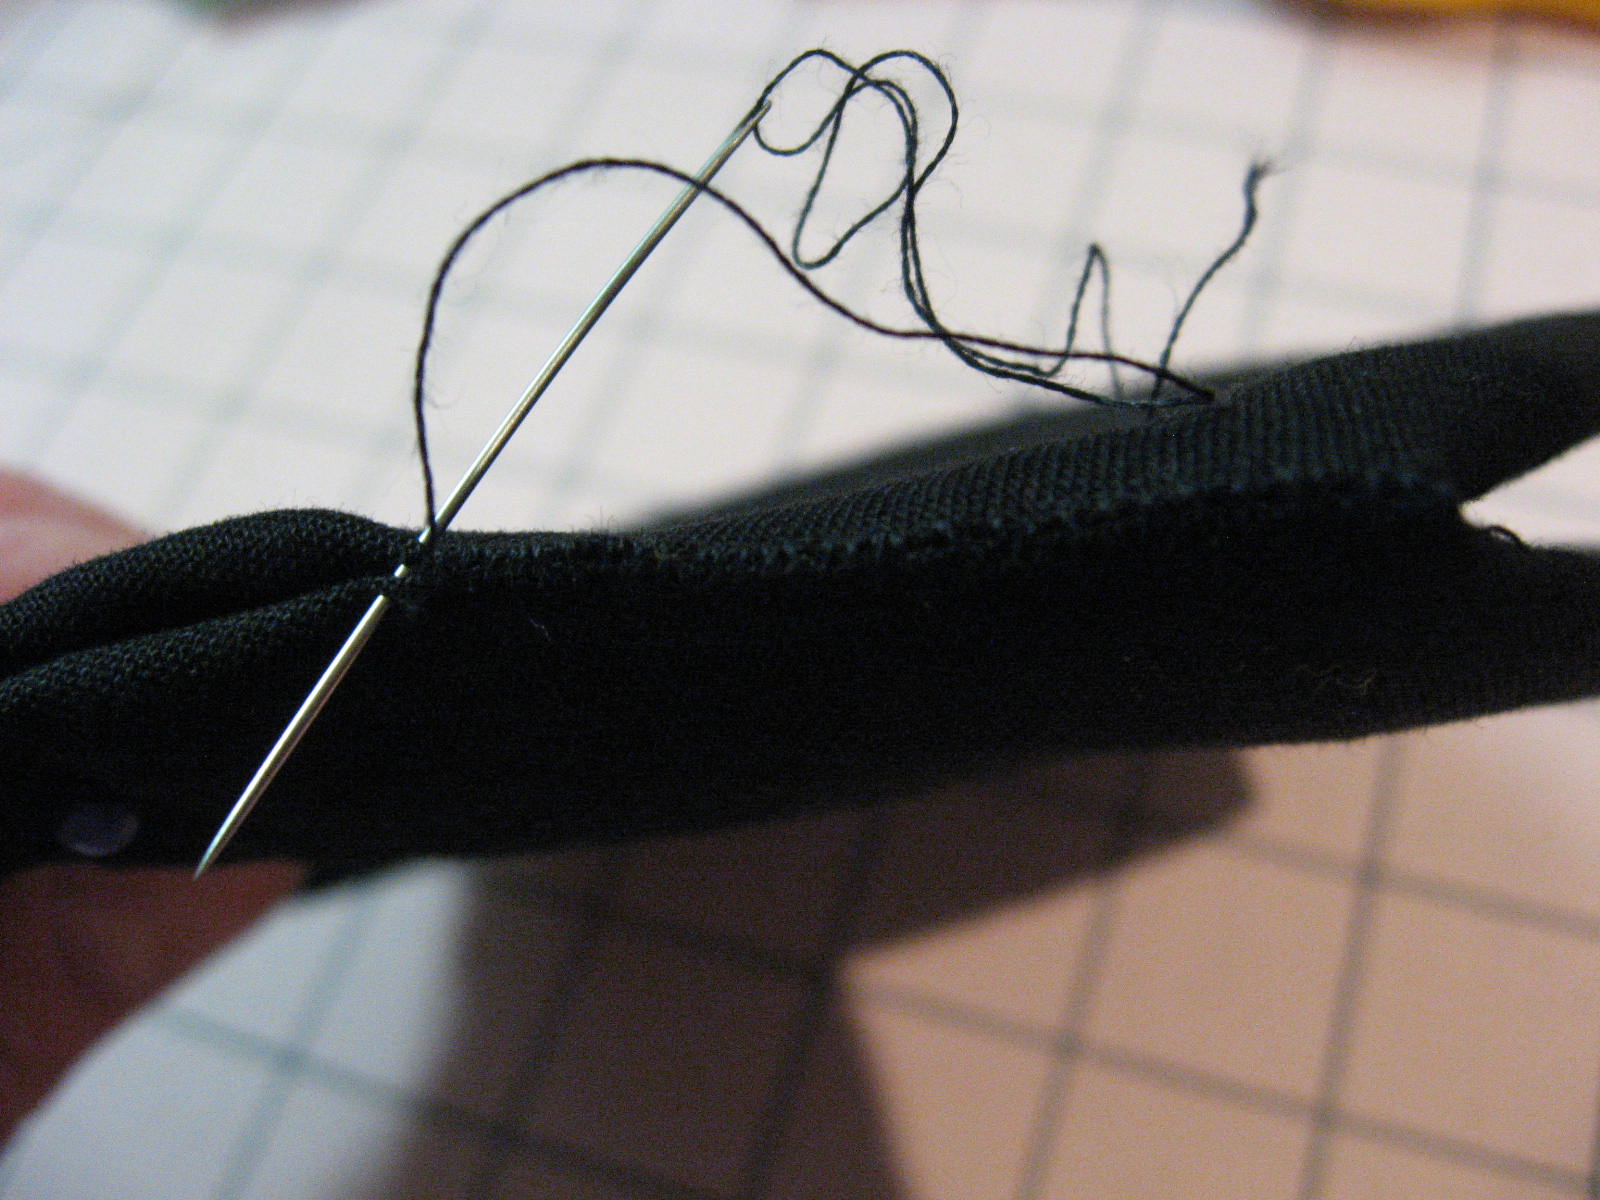
Whip stitching hexagons together.
This is all you need to do to make your quilt or item, but there are additional embellishments for those who are keen!!
You can add a row of quilting around the edge as I have done in the photo, or indeed quilt an appropriately sized motif in the centre. My thread of choice here is Aurifil Cotton Mako 12.

Quilting stitch around the edge.
You can also embroider along the joins if you wish.

Adding embroidery.
When joining hexagons together to make a quilt you can leave the edges as they are or make half-hexagons to fill in the spaces. In the scrappy quilt in the photo I have left the edges as they are.

Scrappy hexagon quilt.
There are many other possibilities for quilt as you go hexagons. I have made a couple of hexagon bags using a Patchwork with Busyfingers pattern.
A friend is making small quilt as you go hexagons into mug bags.

A hexagon bag.
If you haven’t tried this technique have a go! It’s a great way to use your scraps of fabric and batting.
Filed under: Aurifil, Cotton Mako', Cotton Mako' Ne 12, Cotton Mako' Ne 40, English Paper Piecing, Hexagons, Home page, Patchwork, Quilting, Tuesday Treats | Tagged: Aurifil, bags, Cotton Mako 40, Cotton Mako', Cotton Mako' Ne 12, Fabric Dyeing, Hexagon, Patchwork, scraps, Tuesday Treats |


About How many 2 1/2 inch hexes would it take to make a double size bed quilt?
Hi Rhonda
I am not sure how many hexes you will need. I would make a sample 12″ “block” of hexes and count the result. Use colours that you would use in the quilt so that this could be the start of the quilt or a cushion for the same room
Thanks for sharing – I’m going to give it a try
[…] sewing the lining took WAY longer than sewing the top, and if I had to do it again I would do “quilt-as-you-go” hexagons and then whipstitch them together at the […]
thank you so much for sharing this with us. I am so excited to start one. waiting for some fabric squares in the mail and then I am good to go……..
I am looking forward to trying this technique, it makes me excited about trying something new.
[…] most popular post was …… you guessed it ….. about Hexagons …… thank you […]
[…] Do you remember knitsnquilts hexagon post? […]
[…] to hold hot items I wanted the heat resistant layer as well as the cotton batting. I found this tutorial to be really helpful to construct the layers of the potholder and to sew around the border. Even […]
I have learned so much from this tutorial….so much up-to-date ideas …..thanks for it all!
I’m very glad you found it helpful!
You could definitely see your enthusiasm within the article you write.
The world hopes for even more passionate writers like you who aren’t afraid to mention how they believe.
Always follow your heart.
Yes, I am passionate about my projects! Thank you for your comments.
What a great tutorial thank you. I have pinned this to refer back to as I wanted to make some hexagon pot holders.
Thank you for this lovely feedback. I’m so glad you found it useful.
It is a great idea. thank you.
Thank you for your comment, I hope you found it useful.
Thank you. There was a bit of playing with various fabrics to get the colour selection right!
Thank you, great tutorial and I love this scrappy quilt of yours.
Looks wonderful!
Thank you! It’s certainly a good way to use up small pieces in the stash!
[…] Hexagon Tutorial at Always Quilting Blog […]
[…] Hexagon Tutorial at Always Quilting Blog […]
Aweso,e tutorial.thanks!!
Thank you, glad you like it!
this quilt is beautiful. what size hexie did you start with. Definitly making one of these. I am a hexie lover.
The large hexagon has a side measurement of 4″ and the smaller one is 3″. Good luck with yours.
Awesome quilt!
Thank you Giane!
I really love this tutorial! The possibilities are endless and now I have to try! Thank you!
We’d love to hear how you get on.
Fabulous tutorial ……….thanks for the new ideas. Marie
Thank you for your comments. It’s always nice to share ideas that work well.
anyone tried this with sewing machine ?
I prefer to handsew, but I’m sure this could be done by machine too. Utilitarian or decorative stitches could be used.
You could make a funky bra,too!
Good idea, but I’m not offering to model it!
I have seen a quilt done with this technique last year, but wasn’t sure how to go about it. Thank you for sharing!
Hope you are able to give this technique a try!